Setting up Postback S2S (Server-to-Server) Tracking in Voluum allows you to track conversions and optimize your campaigns without relying on cookies or pixel tracking. Here is a step-by-step guide to setting up Postback S2S Tracking in Voluum:
The first step is to double-check that you have the following essentials to avoid any delays during the setup process.
Now that you're familiar with the basics, it's time to log in to your 7SearchPPC advertiser account. If you already have an account, follow the steps below to sign in:
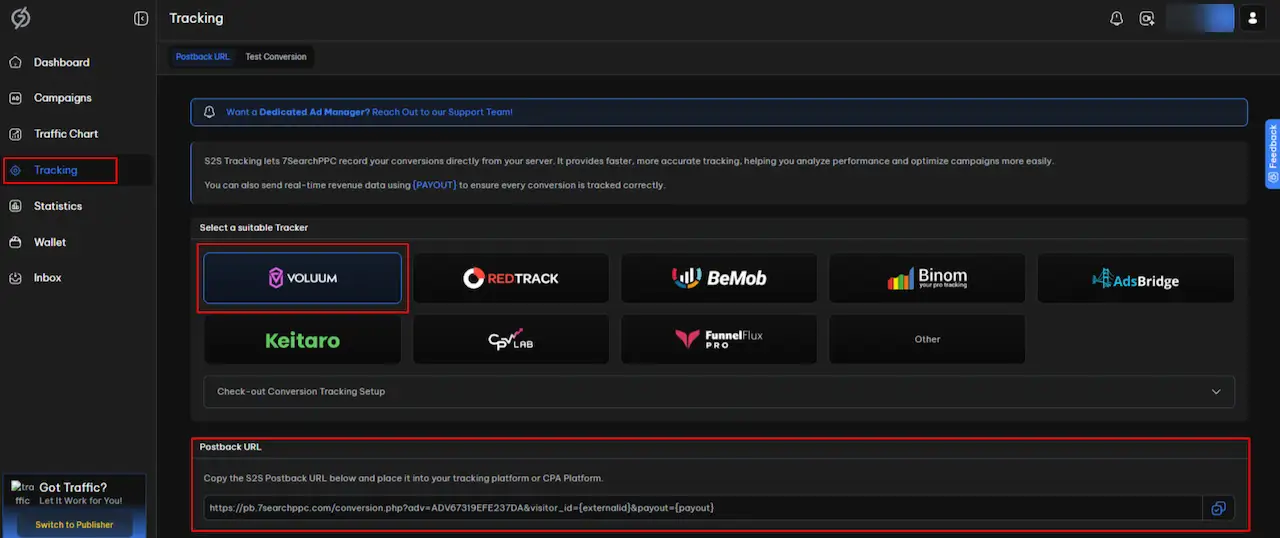
After signing in to your 7SearchPPC advertiser account, navigate to the Tracking section in the left-hand navigation bar. Select Voluum from the list of available trackers, then scroll down to find the Postback URL. Simply copy this URL as you'll need it for the next steps in the setup process.
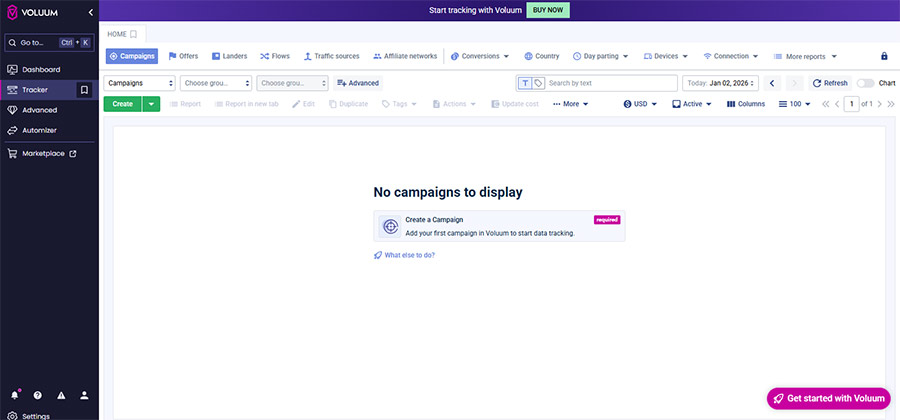
Now, head over to the Voluum tracker platform and sign in to your account. Once you’re logged in, you’re ready to start the tracking setup process.
After signing in to the Voluum tracker, navigate to the 'Traffic Sources' button and click 'Create'.
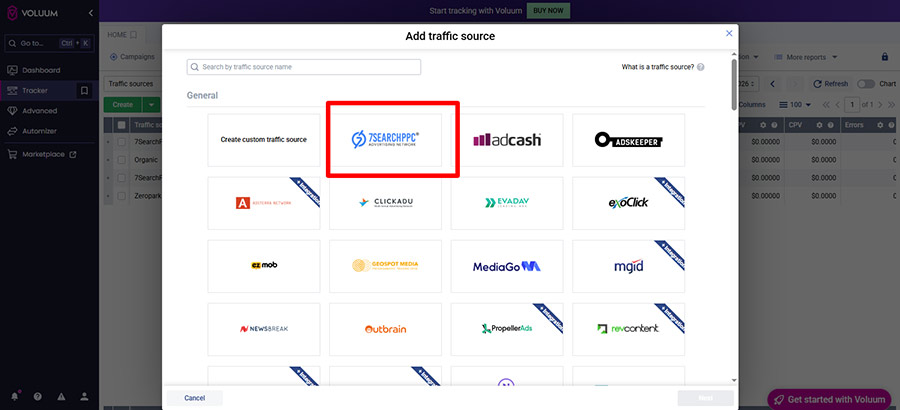
The 'Add Traffic Source' page will open, where you can either search for '7SearchPPC' in the 'Search by Traffic Source Name' field or, if you find it in the list, select it directly and hit the 'Next' button.
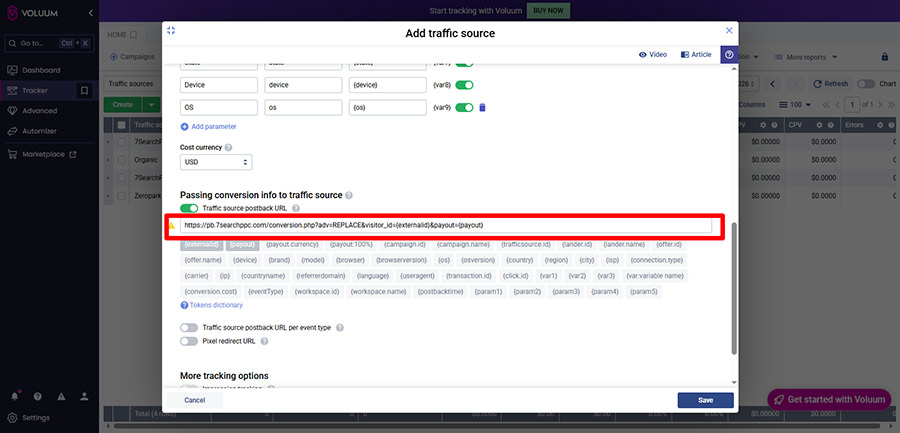
After clicking the 'Next' button, the page will appear, where you will see the parameters auto-filled and auto-replaced. Scroll down to the section 'Passing Conversion Info to Traffic Source' and paste the postback URL you copied from 7SearchPPC.
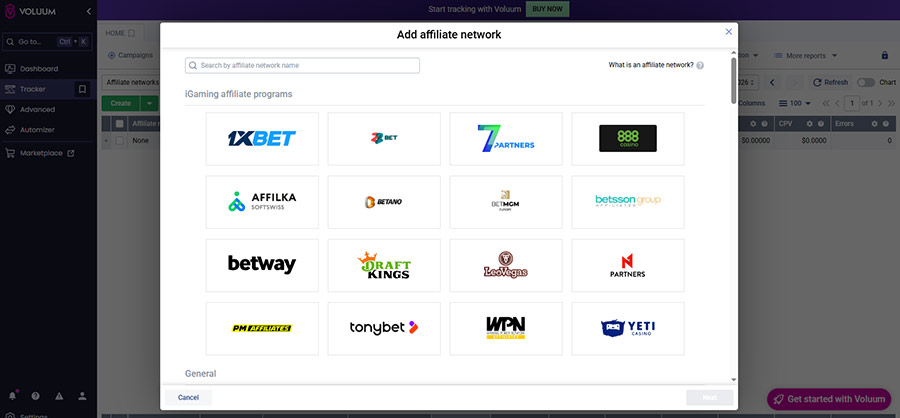
If you are an affiliate, you must connect your CPA network with Voluum. Go to Affiliate Networks from the top menu in the Voluum dashboard. Click ‘Create’, search for your network by name, select the template, click ‘Next’, fill in the required details, and then click ‘Save’.
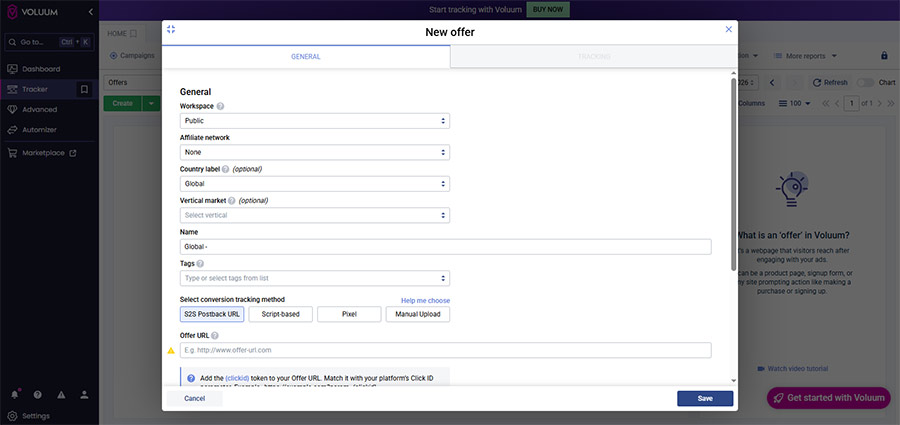
This step helps you add and configure your offer inside Voluum so it can track conversions correctly.
If you face any issues while setting up the offers, you can follow the clear instructions provided by Voluum.
Now that you've integrated your traffic source (7SearchPPC) with Voluum and set up the offers, it's time to create a campaign and obtain the destination URL.

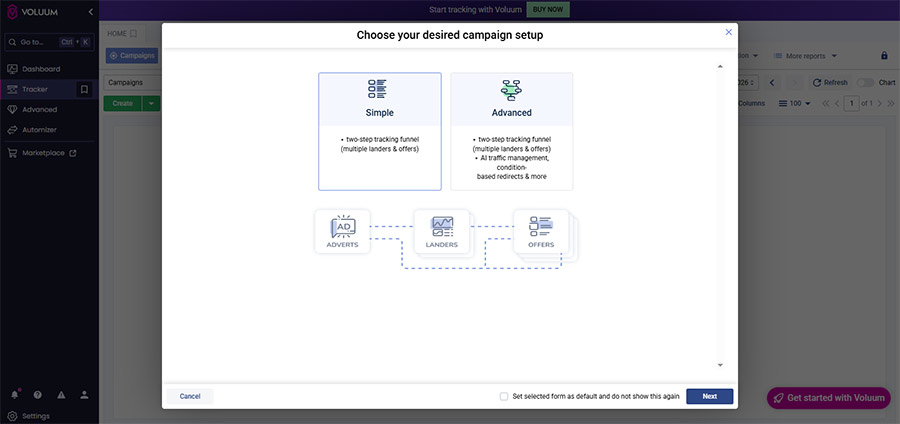
The page will open, where you need to choose your desired campaign setup. After selecting either the 'Simple' or 'Advanced' option, click the 'Next' button. To help you understand, we are choosing the 'Simple' option.
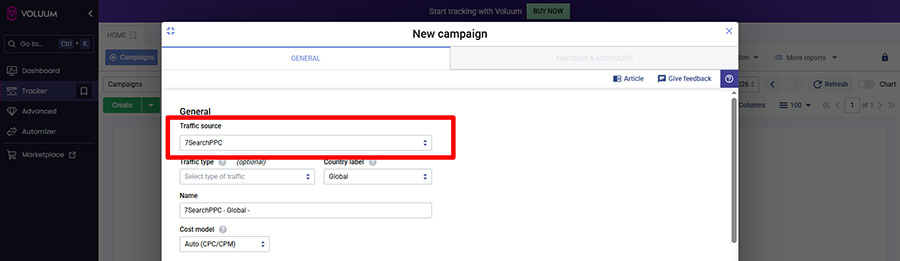
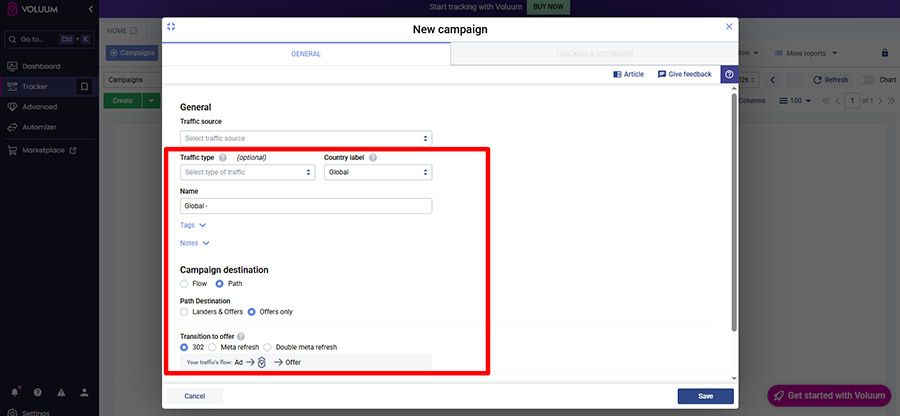

Once the campaign is created in Voluum, copy the Destination URL. It will be used in the next step.
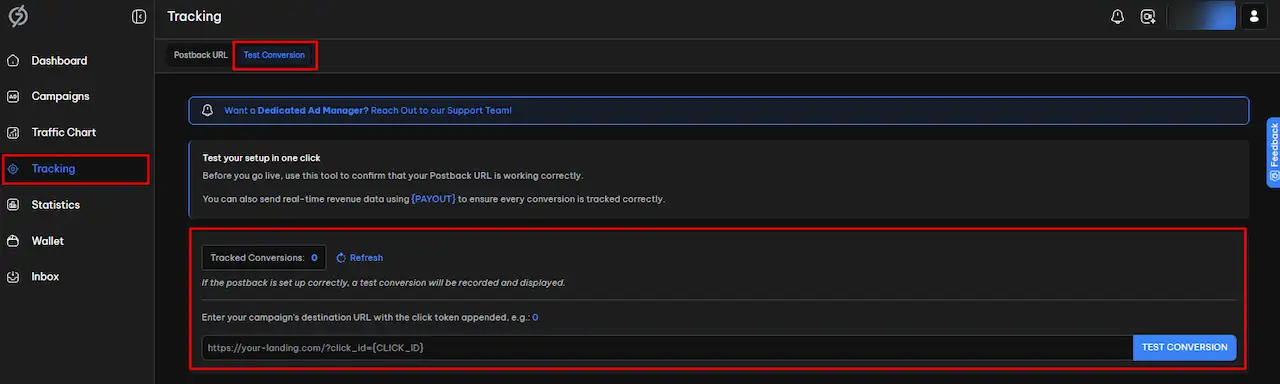
Take a moment to confirm that your conversion tracking is working properly. From your advertiser dashboard on 7SearchPPC, click on ‘Tracking’ in the left-hand menu to open the Conversion Tracking page. Select ‘Test Conversion’, paste the Destination URL you copied from Voluum, and then run the test.
You will be taken to the page where you want the conversion to happen. Complete the intended action, such as filling out a form or registering.

Once done, return to the conversion tracking page—if everything is set up correctly, you’ll see “Test Conversions Tracked: 1,” indicating that 7SearchPPC has successfully received your conversion data.
The conversion data will also be shown in the Voluum tracker.
Now that you have successfully tested your conversion, it’s time to create a campaign.
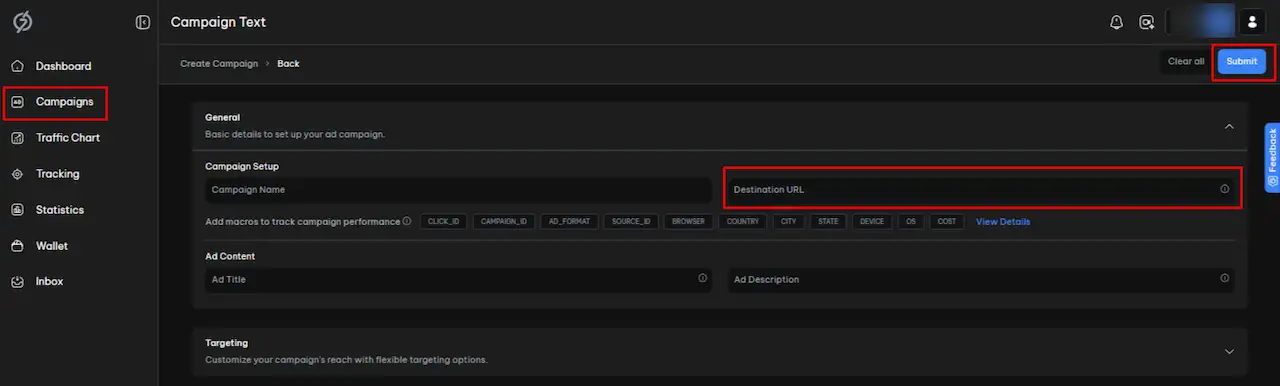
Select “Campaigns” from the left navigation bar, then click “Create Campaign.” Choose your preferred Ad Type and click the “Start” button. The campaign setup page will open. Paste the URL you copied from Voluum into the Destination URL section of the 7SearchPPC campaign setup form.
Then, fill in all the campaign details, such as the campaign category, campaign name, ad title and description, targeting and bidding settings, and ad creatives (if required). After cross-checking all the details, hit the 'submit' button.
The integration between 7SearchPPC and Voluum can give advertisers a strategic edge in several ways.
 Log in to Manage Your Account
Access your dashboard to manage and optimize ads.
Check your stats and grow your ad revenue.
Start Growing With 7SearchPPCWant to promote your products, services, or offers.
Want to monetize your website, blog, or social media traffic.